How to Create a Wooden Shipping Crate by Yourself? Simple DIY Guide

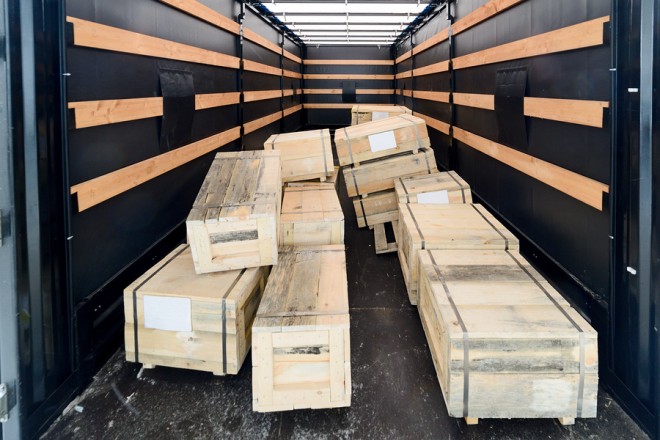
Precious pieces of art, such as vintage paintings, antique art works, impressive contemporary art installations, and modern uniquely shaped furniture require proper care and attention, especially when it comes to shipping. Indeed, if you contact a trusted shipping company, you will be offered the option of using custom crate; a lot of transportation services use individually built wooden shipping crates as the most common kind of freight crates. Professional fine art shipping also implies the application of additional wraps and fillers to ensure the safest transfer of expensive art works.

However, if you want to build a wooden crate for shipping by yourself, prepare to spend some time learning how to make them. Here is a clear, step-by-step guide on how to create a wooden shipping crate by yourself:
- Learn the dimensions of your item.
Whether you want to build a motorcycle crate or pack a costly statuette, you have to measure the item you are willing to ship. Besides that, add from 2 to 4 inches to these parameters, since you will need to put additional wrapping material into it.
- Purchase strong wooden materials.
When learning how to create a wooden shipping crate by yourself, it is vital to remember one thing: choose only solid, reliable materials, for instance, plywood panels or oriented strand boards (OSB). These wooden panels will help you make a robust box. Also, buy 1.5 inches screws for sealing your freight crate. Other essential tools are a saw and an electric screwdriver. Of course, do not forget about the safety measures: wear protective goggles.
- Mark the parts of the future box.
To simplify the building process, mark pieces of wood – you may use the words “top,” “bottom,” “side A,” “side B,” etc. or only the initial letters. Then start cutting the wood keeping in mind the obtained measurements.
- Screw wooden pieces.
Start with the side panel – screw it along the edges. Then do the same with right and left wooden boards, making sure they precisely adjoin the edges as well. After that, accurately screw front, back, and base parts. At this stage, you have almost learned how to create a wooden shipping crate by yourself. There are just a couple of important steps lefts.
- Pack your item.
Use various packing materials such as bubble wrap, foam rubber, thick paper, etc. This way you will pack your precious item securely and adequately. When finished wrapping, place your shipping item in the newly-built box and fill free space with some extra fillers for better amortization.
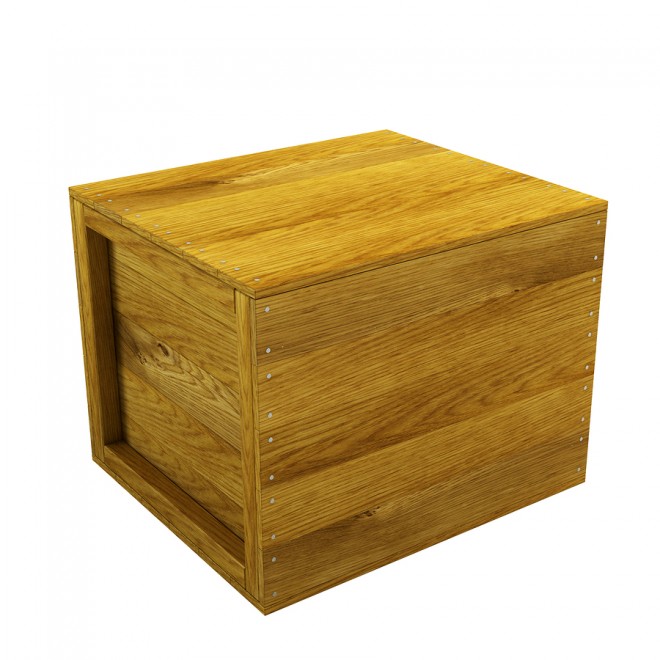
- Screw the top of your box.
Congrats! Now you know how to create a wooden shipping crate by yourself. Nevertheless, it is vital to remember that qualified art shipping organizations are much more experienced. So do not hesitate to contact credible fine art shippers and entrusting them your valuable art works.